Do you want to install a theme on your blog or website?
If yes then today in this quick guide we’re going to see two different ways from which you can install a WordPress theme.
Things To Remember:
Before you get started, let me tell you that once you change your WordPress theme the whole design of your website will be changed.
Therefore, I strongly recommend taking a backup of your website or test your new theme before making it LIVE.
But if you’re installing a WordPress theme on a new website then you’re good to go.
You must read Best WordPress Themes (FREE + Premium)
Let’s get started.
Install a Theme using the WordPress theme directory.
At the WordPress theme directory, you can find FREE themes and install them easily. You just need to follow the simple steps given below:
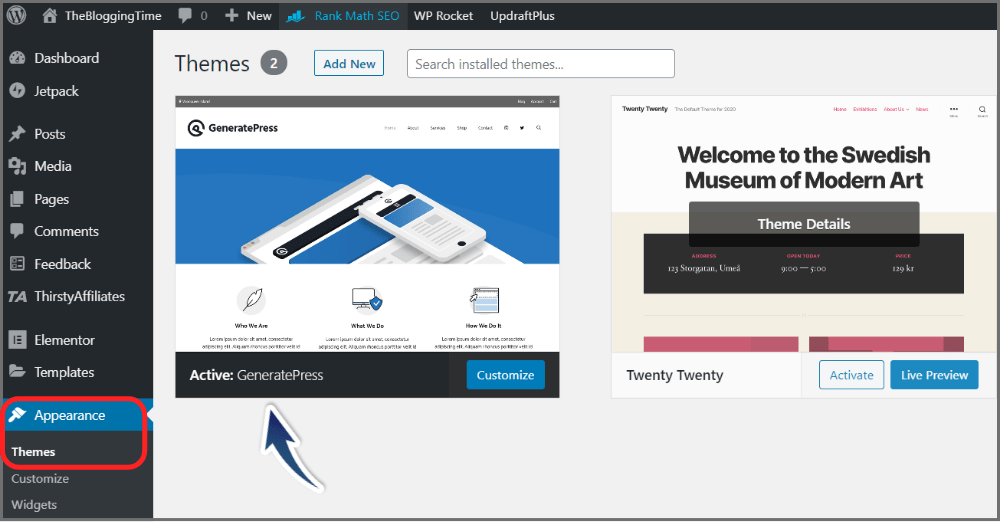
Navigate to WordPress dashboard > Appearance > Themes.

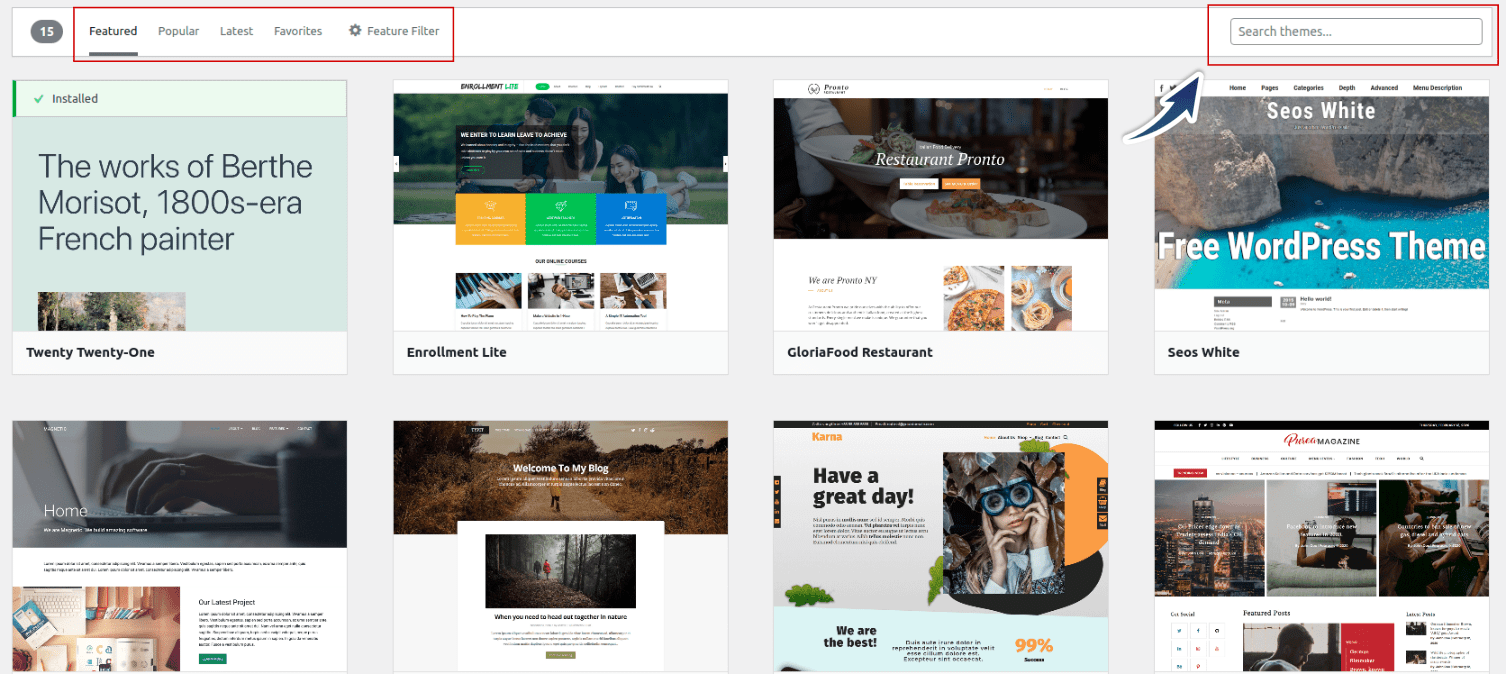
Click on Add New button and search your favorite theme from the directory.

Once done, click on the Install button and Activate the theme, now you can easily customize the theme.

Install a Theme by uploading a ZIP file.
If you’ve bought a premium theme or you want to install some custom theme then you need to upload it manually in ZIP file format.
Let’s see how to do that?
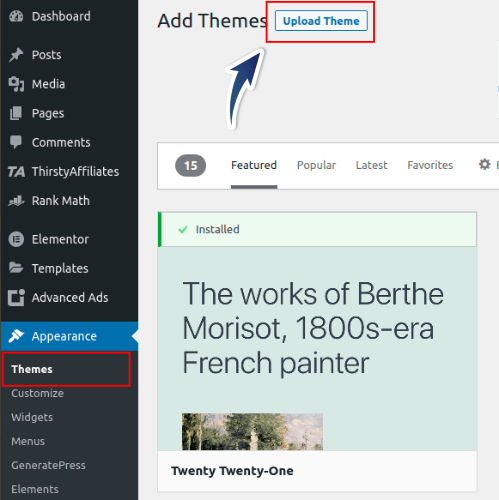
The first thing you need to do is, downloading the theme you want to install and navigate to your WordPress dashboard > Appearance > Themes

Find the Add New option and click on Upload Theme, select your theme and upload it.

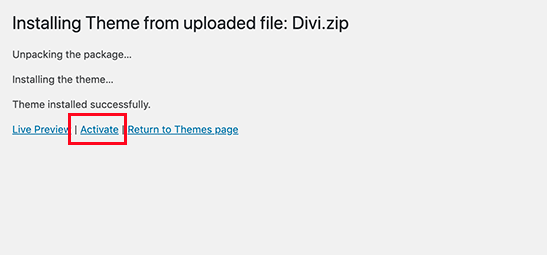
Once uploaded, activate the theme by clicking on the Active button. Now you can customize your theme easily.

PRO TIP: I’m using Generatress Premium on most of my blogs and I recommended you the same, you can read the full generatepress review here.
I hope you’ve understood how to install a WordPress theme. If you have any questions or facing any issues, feel free to comment down below.
