

In this quick guide, I’m going to show you step by step methods to buy web hosting from Bluehost.
Why Bluehost?
Bluehost is one of the world’s oldest and largest web hosting providers. It’s a brand of Endurance International Group.
After Siteground increased its prices, Bluehost has become the first choice for bloggers, and marketers.
Today, more than 2 million websites worldwide are powered by Bluehost. It is recommended by WordPress as well.
Quick Review of Bluehost Hosting:
- Faster Website Loading
- Daily Backup + FREE SSL
- Best Uptime Guaranteed: 99% Always
- Starting From $2.95/month
- Unmetered Bandwidth
- 30 days Money-Back Guarantee
For more read my detailed review of Bluehost here.
Steps to Buy Web Hosting From Bluehost
Now let’s see steps to buy hosting from Bluehost.
1. Go to Bluehost Website
First step is to visit Bluehost website and explore the type of hosting and plans.
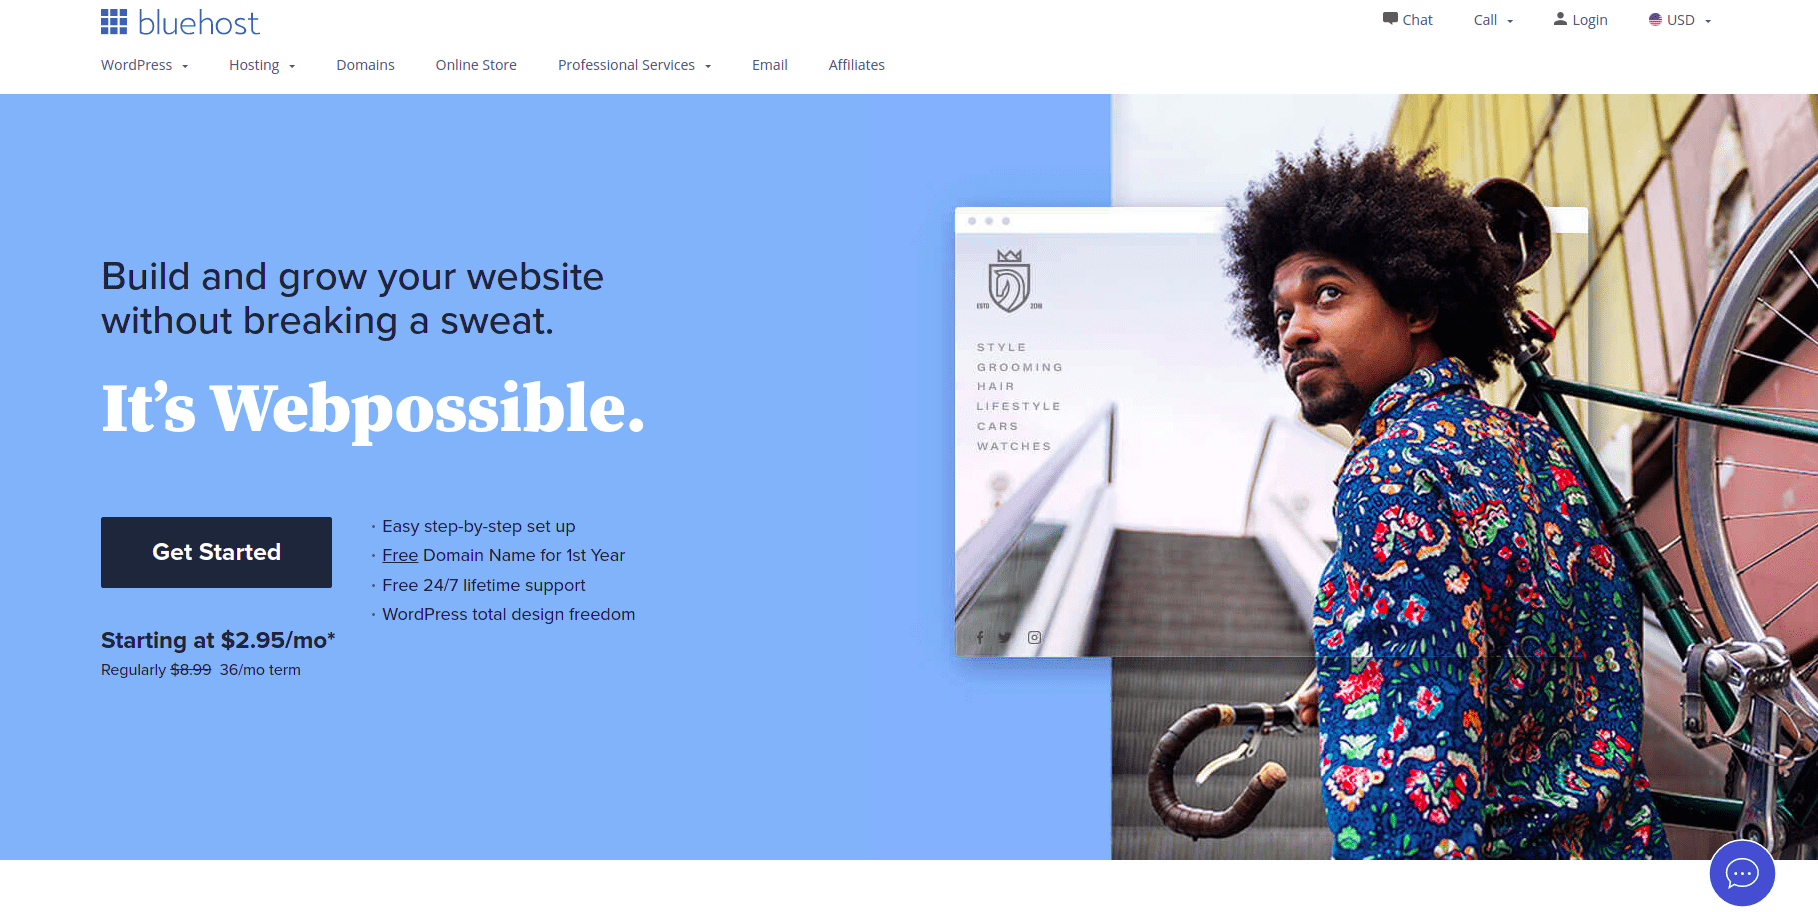
Here, you may select “Get Started” button, which will take you to shared hosting page or you can choose your own kind of hosting from the dropdown.
If your audience is based in India and wants Indian servers then you may visit bluehost.in but I would recommend the global version because you don’t know when your audience starts growing globally.
Let’s see type of hostings.
2. Select Type of Hosting
I am sure if you’re planning to buy hosting then you’re aware of what kind of hosting will be suitable for you. If not let me help you with a quick overview:
| WordPress | Shared | Dedicated | VPS | |
| Difference | WordPress-optimized shared hosting | Multiple websites share a physical web server | Single Website on a physical server | Blend of shared and dedicated hosting |
| Performance | Average | Average | Suepr Fast | Fast |
| Security | Average | Average | Very Secure | Very Secure |
| Pricing | Cheap (~$2.95/ month) | Cheap (~$3.95/ month) | High – $80 to $500 per month | High – $20 to $100 per month |
| Best Suited To | People having very less technical knowledge. | Websites with minimal traffic (100k-200k) such as blogs | High traffic websites that receive over 5M visitors per month | Websites with moderate traffic (1-2M) per month |
Hope above chart will help you understand what kind of hosting will best fit your business.

Now select your type of hosting (lets say shared hosting) and explore the plans
3. Select Your Plan
Selecting the plan is a very crucial part because if you select the wrong plan you’ll not get desired results. I’m personally using the Choice Plus plan because it meets my requirement.
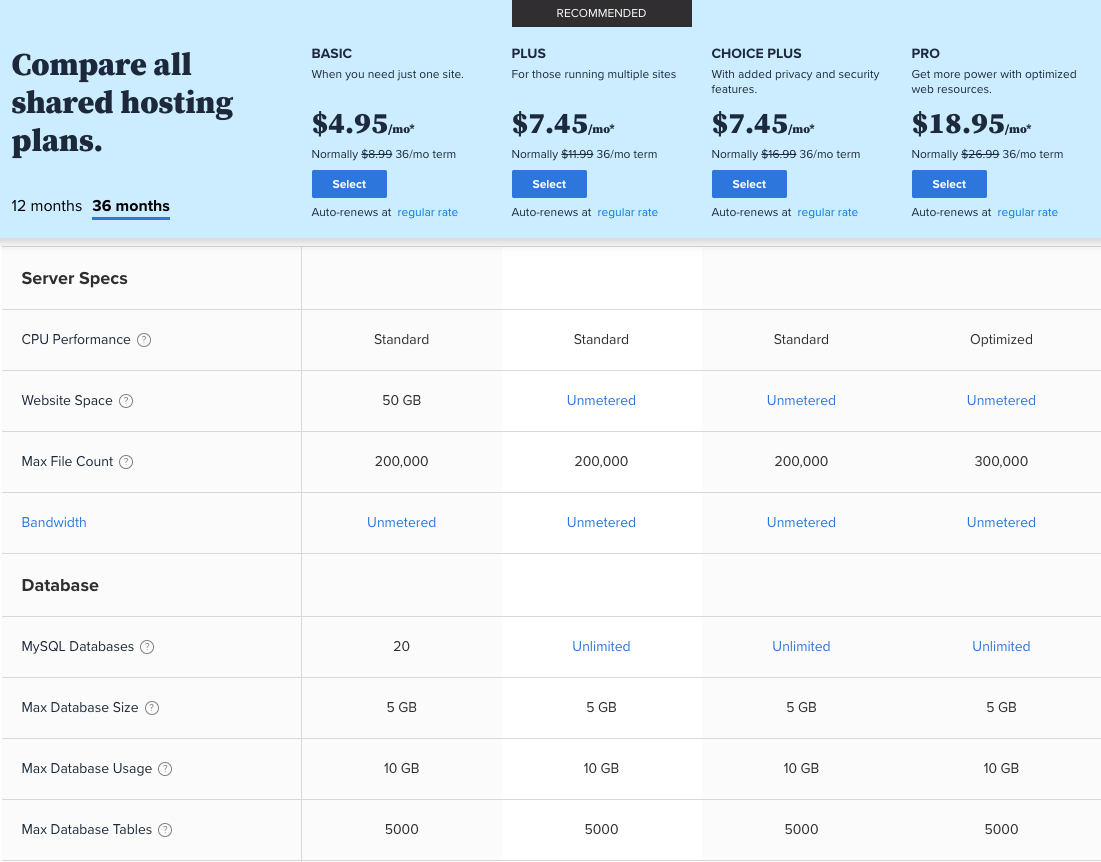
But remember, above prices are subject to 3 years of purchase, and renews on regular rate (you can see the stripethrough price).
To learn more move to section 6th.
4. Setup Your Domain
Do you know? Bluehost provide FREE domain for 1 year when you purchase web hosting from bluehost.
If you own a domain, you can enter that else you can create a new domain name for you.
For more, read how to buy domain name from Godaddy.

You can also skip the domain creation part and continue to the next step of creating you account.
5. Create Your Account
After domain selection, you just need to create your account with Bluehost. Enter required information just like I did below:

Remember to use a working email address because all account-related items are going to associate with this email address only.
6. Choose Hosting Package
This is most crucial part of the entire process and here I’m gonna tell you some trick as well.
If you’re serious about your goal, then I would highly recommend going for a 36-month plan because it will cost you $5.45/month (Choice Plus Plan).
Else you’ll get $7.45/month if you choose for 12 month. That’s pretty high.
And the most important thing is that, you have not to pay higher amount on renewal every year. Better to go with 36 month plan.

You can also select additional services such as Codeguard and SiteLock security but I would recommend going with some third-party tools because they’re cheaper and easy to manage.
Above link can get you 67% OFF that is equal to $415 (Choice Plus Plan). Cheers
7. Enter Payment Information
Here comes the day!
Simply enter you payment information (if possible credit card)
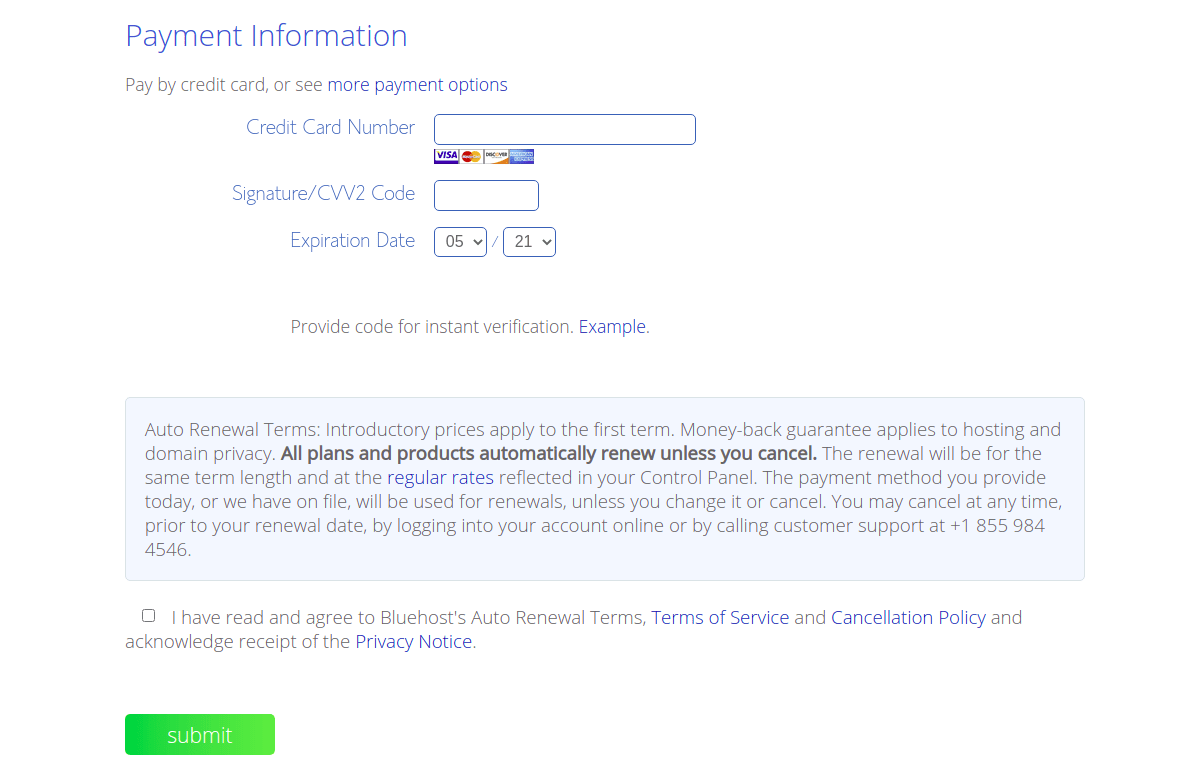
Acknowledge the privacy policy and conditions and hit the Submit button.
Congratulations!! You’ve successfully bought the Bluehost web hosting.
8. Get Started with Bluehost
Now you’ll receive a confirmation email from Bluehost containing all your important information and it looks like:
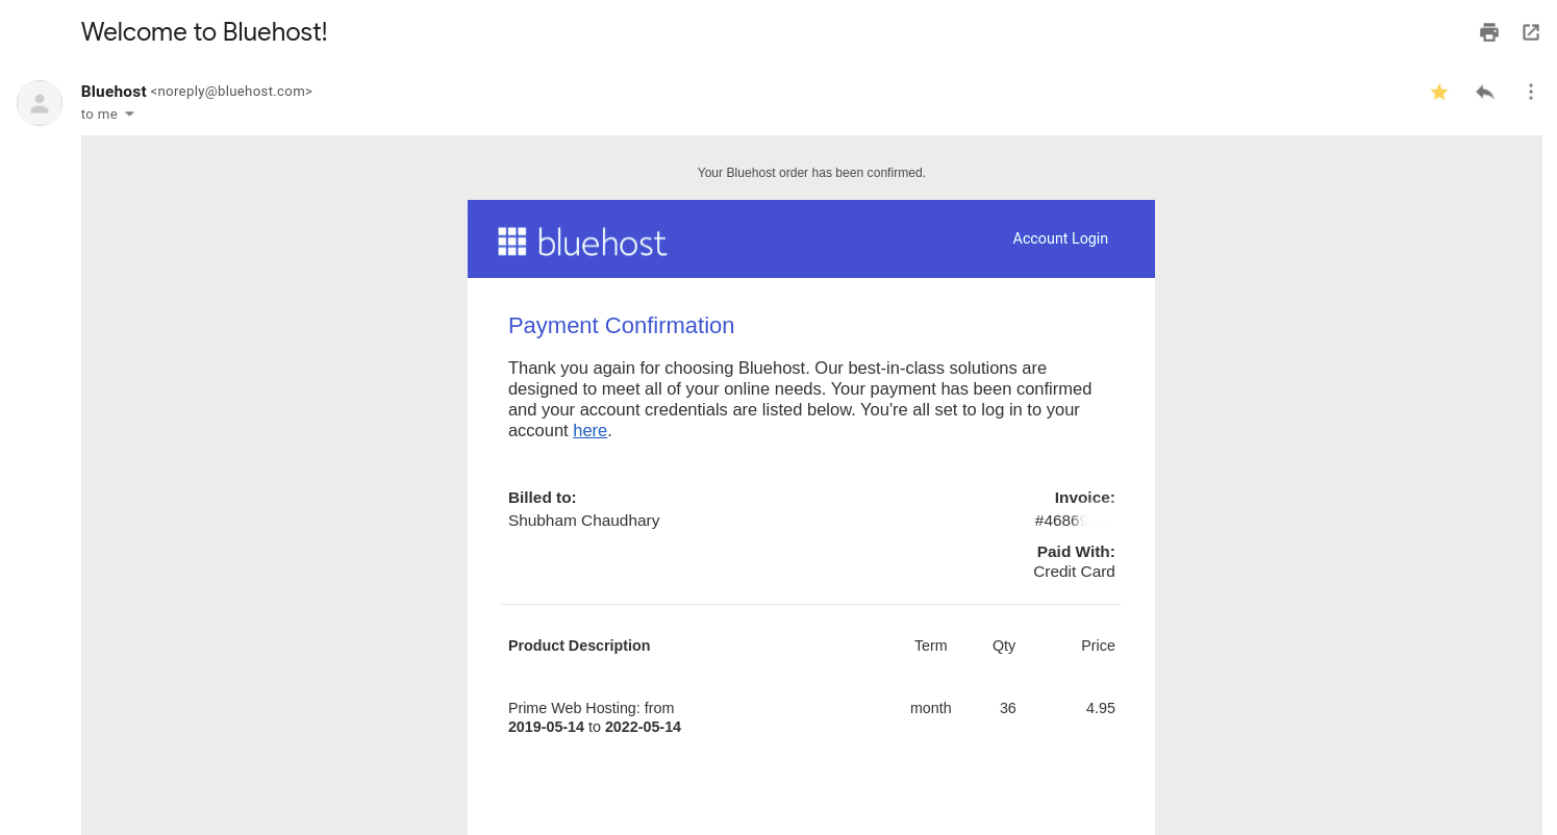
The email receipt will also contains
- Domain Name (if purchased)
- Username
- Password Reset Link
- Email Server Name
- FTP Information
You can easily set up your account password by clicking on the “Reset Password” button and then you’ll be redirected to the Bluehost Dashboard.

Once you’ree all set, you’ll see Bluehost dashboard something like as below:
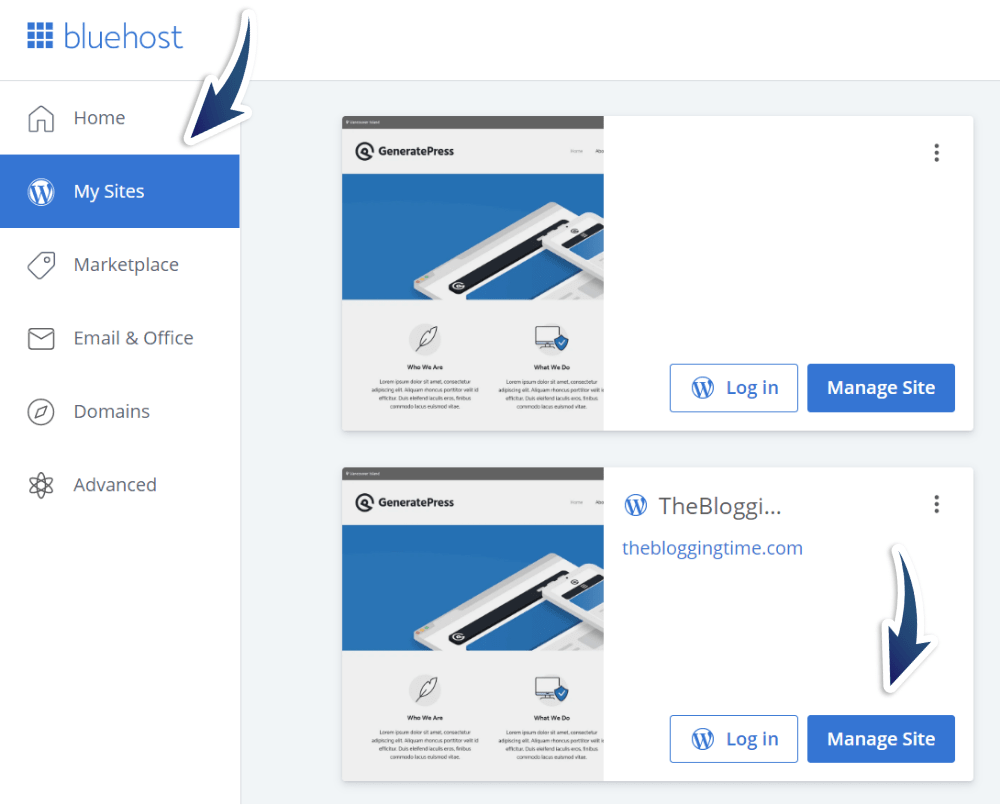
I’ve already added a few of my websites. You’ll get a fresh dashboard asking for the setup of your website.
Bluehost provides you a single click WordPress install that makes your life easier.
Conclusion
Concluding this post I would say, If you’re just starting a blog or your business, Bluehost is the ideal choice as I am using it for the past 2-3 years and haven’t faced any issue yet.
Bluehost customer support is too good that they’ll guide you in every situation.
Congratulations again for buying web hosting from Bluehost.
Here are some handpicked guides that will help you to start further.
- How to Install WordPress Plugins?
- How to Install WordPress Themes?
- Best FREE Worpress Plugins for Begineers
Thank You