

In this post, we are going to deep dive in Cloudflare, its benefits, how it works, and understanding Cloudflare reports and stats.
In this ultimate guide, you’ll learn how to use Cloudflare CDN in WordPress and how to increase your website loading speed and performance and also secures your website from hackers attack.
Somewhere Cloudflare can surely help you to improve your website SEO score because speed is the key factor in Search Engine Optimization.
What is Cloudflare?
Cloudflare is a Content Delivery Network (CDN) which acts like a proxy server between user and server, which enables an extra level of security and performance to your website.
Cloudflare is the best free CDN available on the Internet which has more than 150+ server worldwide in 90 countries.
That means doesn’t matter where your visitors are coming from, they’ll be getting the fastest content delivered from there nearest location.
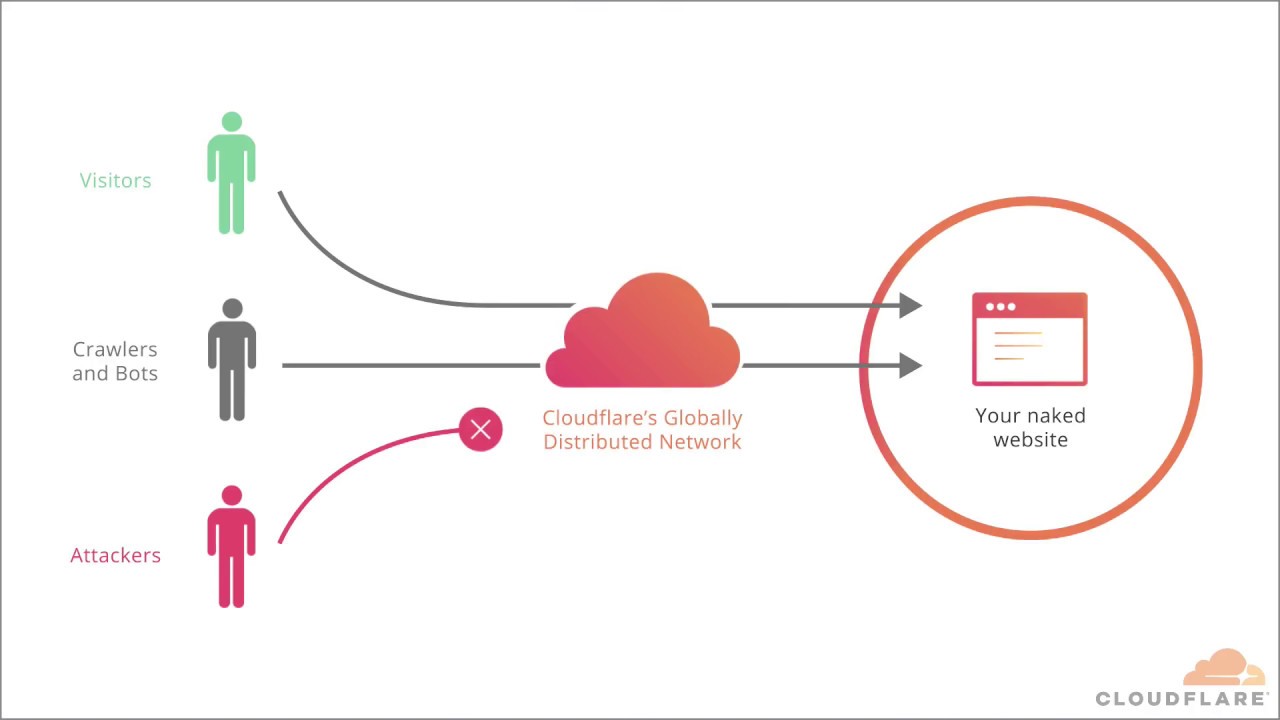
all image source is cloudflare.com
It also ensures end-to-end encryption between visitor and origin server and offers numerous plans starting from FREE to Enterprise.
If you own a website with average no. of visitor then you can go for the free plan or you can upgrade yourself.
What is CDN?
CDN or Content Delivery Network is a distributed network of proxy servers or you can say it is a distributed system of servers that are located worldwide.
A CDN can also help you to save from brute force attacks because of there firewall systems.
That means every single request is going through Cloudflare to your server which can improve website security.
How Cloudflare works?
Once you activate Cloudflare on your website, then all your website content will be served through Cloudflare global distributed servers.
Cloudflare stores a static copy of your website on its server to improve performance and this cached data is refreshed on 30 minutes interval, also you can turn off the caching.
Cloudflare routes all your incoming call to the nearest possible server of the user. In this way, your users will receive content faster than usual.
Cloudflare also blocks the brute force attack and hacking bots to reach your server.
The biggest benefit of Cloudflare is that your website will never go down even your server is not responding because it stored static files on your server and in this way these static files can be served to users in such situations.
Click here to see the network map worldwide.
Benefits of Cloudflare CDN
- Security Increases: It helps you to increase security over your website because it blocks the hacking attack before reaching your server by giving hackers a javascript challenge.
- Performance Increases: It helps to improve website loading time because it keeps the cached content on its distributed systems.
- Server Load will decrease: By cached content, a request goes less frequently to your server, so the load will automatically decrease.
- Content Delivery will be much faster: Another benefit of caching data, as you know data will be served from the nearest server so content delivery will be faster.
- Low downtime: Somehow if any server gets fail then Cloudflare is capable to serve users from another server.
How to Setup Cloudflare CDN in WordPress
Now we are going to look at how you can set up Cloudflare CDN for WordPress based websites. There are two easy methods, let discuss them:
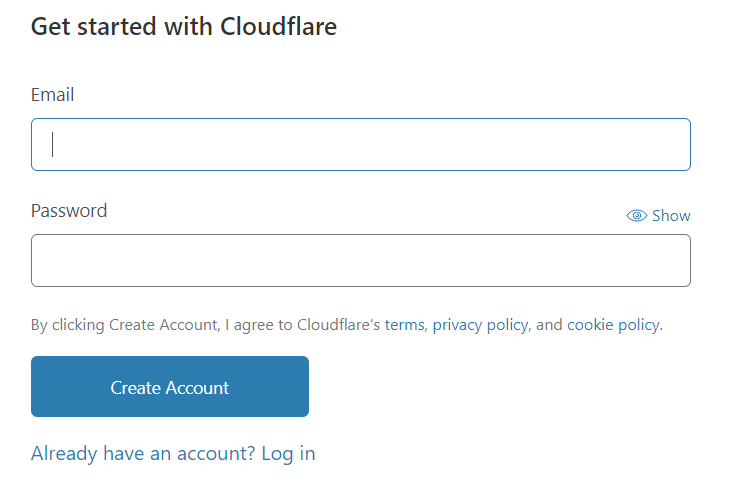
Step 1: Creating a Cloudflare Account:
Navigate to Cloudflare website, hit the Signup button.

Now, enter your email address and password of your choice.
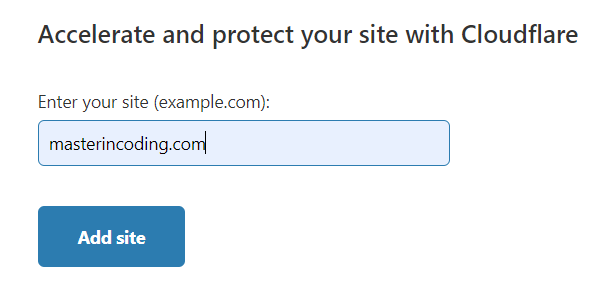
Step 2: Adding Website to Cloudflare
Enter the URL of your website and click on the Add Site button.
Step 3: Select the plan
Now, choose the plan of your choice, for average visitor gaining website you can go for the FREE plan.
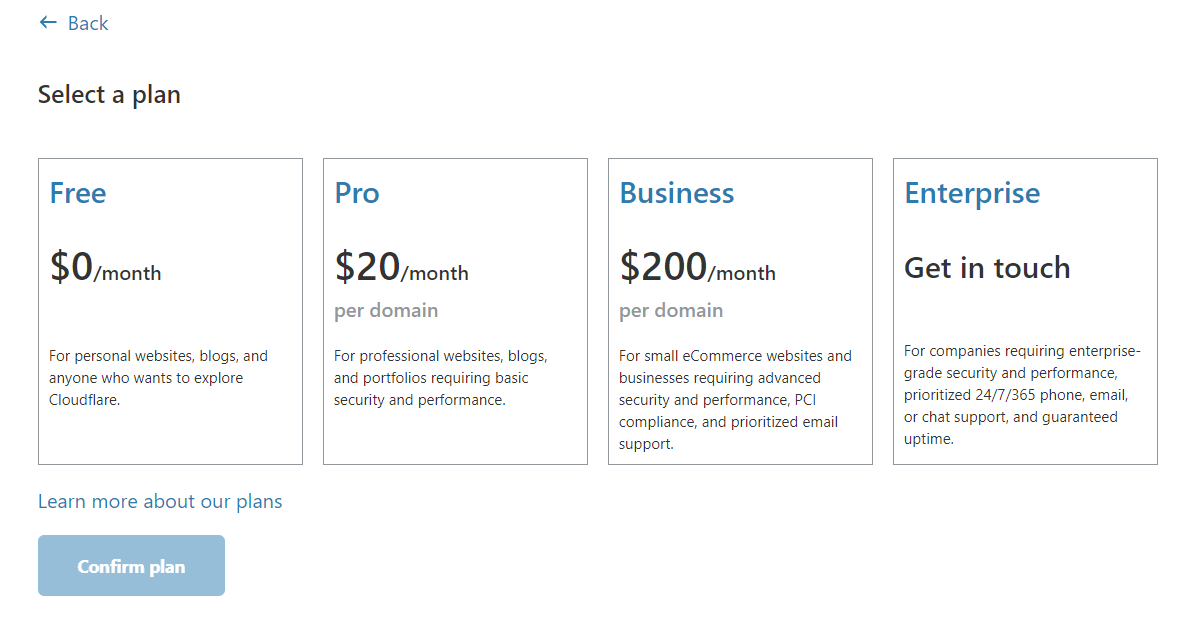
Click on FREE and then click on confirm plan.
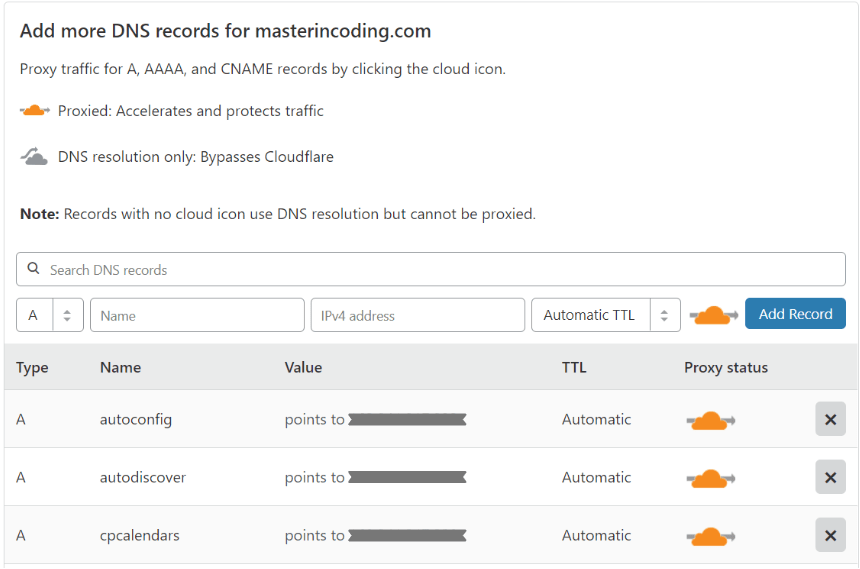
Step 4: Confirm the DNS records
Here, you’ll select the domain and sub-domains you want to pass through Cloudflare server. I recommend not to choose cPanel, FTP, or sub-domains to pass through Cloudflare as they result in some DNS errors. However, adding the primary domain is a must.
- The orange icon shows that the request will pass through Cloudflare.
- Grey icon shows that the request is not proxied and will not pass through Cloudflare.
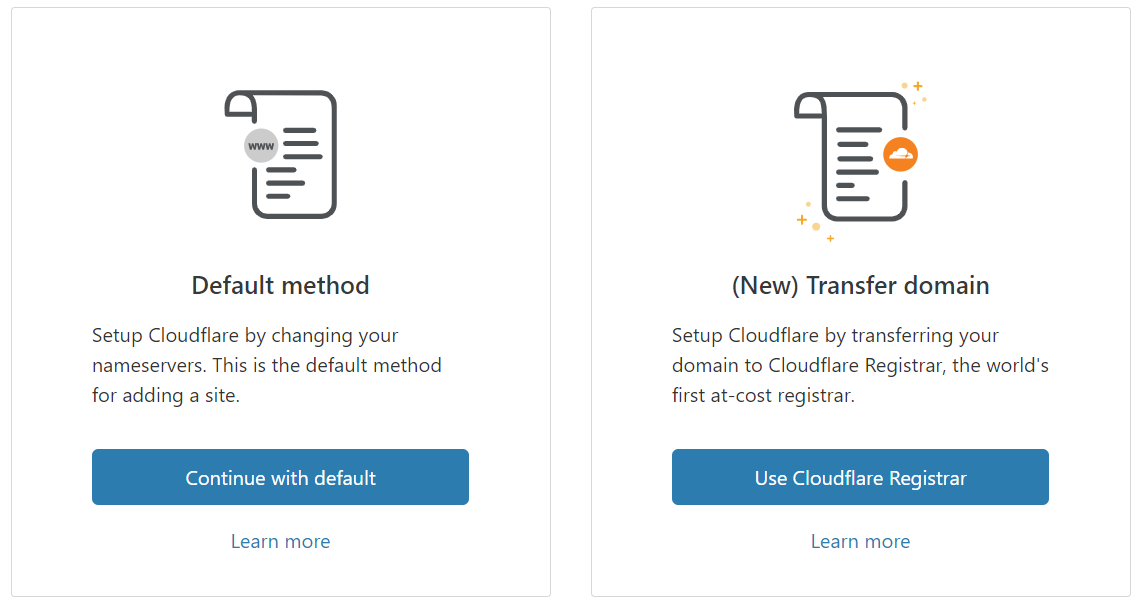
Step 5: Select A Method For Moving Website:
I would recommend selecting the first method and continue with default.
Step 6: Updating Nameservers:
Now, this is the main part, where you need to point your nameserver to Cloudflare, and internally Cloudflare will connect to your origin server. It automatically shows your existing nameserver and suggests you changing them with some other custom nameserver.
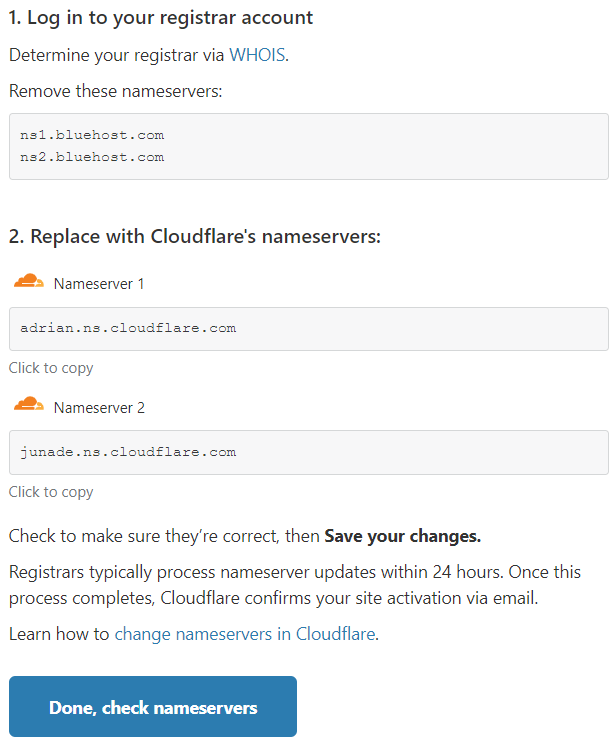
Navigate to your domain provider and search for nameservers, edit them and override the existing nameserver with the nameserver that Cloudflare suggested.
NOTE: Updating nameserver globally may take a few minutes, so don’t be panic in that situation if your website is not accessible for a few seconds.
However, you can manually request Cloudflare to check DNS record update or it will notify you by email.

Now your website is ready and from Cloudflare dashboard, you can customize your settings.
Understanding Cloudflare Reports
Now, we are going to look at Cloudflare configuration and reports and try to understand them in deep. Let’s get started.

1. Overview
Here you’ll find the overview report of your website and some quick actions buttons which can help you to save during some emergency. This section will display data like Total Visitors, Total Requests, Cached Data, etc.
With the help of quick action button as shown below you can do the following things:

- Under Attack Mode: Turn it on if you realize that your website is under attack. It will challenge hacker with some Javascript code.
- Development Mode: Turn it on if you want to do some modification in the design of your website because it will temporarily disable the cache of your website.
- Purge Cache: It will load the latest cache from your hosting servers to Cloudflare servers.
- DNS Settings: Manage your
- Active Subscription: You can upgrade your plan from here.
- Page Rule: Direct configure the page rule such as specific URL which need more security like example.cm/wp-login.php.
- API: Helps you to configure with Cloudflare plugin in WordPress.
- Pause Cloudflare on Site: It will temporarily disable the proxy server and bypass all request.
- Remove Site from Cloudflare: Permanently delete your site but in this case, don’t forget to update your name servers.
2. Analytics
A brief report of your website will be shown here. For Example:

- Total Requests
- Unique Visitors
- Bandwidth
- Traffic by Country/ Regions
- No of SSL requests served
- No of malicious attack blocked
3. DNS
Here you can turn ON and OFF your DNS settings and choose which endpoints need to bypass Cloudflare and which needs to pass through the proxy server. I recommend not to choose cPanel, FTP, or sub-domains to pass through Cloudflare as they might result in some DNS errors.
NOTE: Some features are disabled because they are only available in paid plans.
4. SSL and TLS
Here, you can change your SSL and TLS configuration and its very crucial to have an SSL certificate on your website if you don’t have. Do you know with Cloudflare you can GET FREE SSL FOR YOUR WEBSITE. Follow the below steps:
Navigate to SSL section and choose SSL mode.
- OFF: No encryption is applied between user and server request.
- Flexible: Encryption will be applied between the browser and Cloudflare server.
- Full: Encryption will be applied from the browser to your origin server (End-to-End).
- Full(Strict): Similar to Full mode, but it also checks the SSL validity at the origin server.

It will also display the total no. of request served over TLS
- Edge Certificate: This certificate is shown to your visitor and will encrypt request between visitor and CF.
- Origin Certificate: This certificate is installed on your origin server and will encrypt request between CF and origin server.
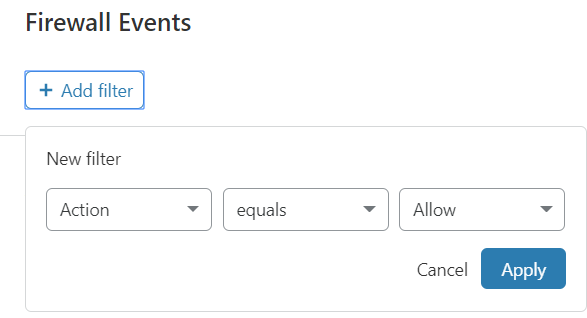
5. Firewall
Here, you can allow, block, and monitor your incoming traffic based on some rules that you define under the firewall section. You can define your custom rules and categorise your traffic based on certain conditions.
Below is a short demonstration:
6. Speed
This will help you to understand how fast your website is loading with Cloudflare. Here, you can’t do extra modifications in the FREE plan and you’ll need to upgrade your plan to Business or Enterprise to optimize content.

Remember:
For better result enable below option by navigating to Optimization:
- Auto Minify: HTML,CSS, and Javascript.

7. Caching
Here, you can change cache settings for your website.
- Purge Cache: As you know, CF stores cached files on their server, so in order to delete old cache and update CF cache with a fresh version of your website, you can use this setting.
- Caching Level: Determine, how much data you want to cache with CF.
- Browser Cache TTL: Here, you can decide in how much time CF will update your cache from your origin server. Settings may vary from 30 minutes to 1 year.
- Choosing 30 minutes means that every 30 minute CF will replace old cache with a fresh version of the website.
- Always Online: Biggest benefit of using cache is that if your origin server goes down, the Cloudflare will server your visitors with static content stored on their servers.
- Development Mode: You can temporarily turn off the cache from here.

8. Page Rule
By defining page rules, you allow CF to customize the request of the given URL. It allows you to control CF setting on specified URLs. For instance, if you want to bypass caching from particular URL then you can define custom rule saying that XYZ URL will not have to cache.

You can define rules to URL patterns as well and a rule will be triggered if the certain pattern matches. But there are few limitations:
- The FREE plan includes 3 page rules.
- The PRO plan includes 20 page rules.
- The Business plan includes 50 page rules.
- The Enterprise plan includes 100 page rules.
9. Network
With CF, you can also manage network settings for your website. I recommended keeping network settings at default because changing settings not correctly may collide with your origin network settings. Below is a brief description of network settings:
- HTTP/2: This is enabled by default.
- HTTP/3: This is the next generation of HTTP.
- 0-RTT Connection: It stands for Zero Round trip time, it is beneficial for visitors who visit previously on your website and now they don’t need to build a new connection every time.
- IPv6 Compatibility: Enables IPv6 protocol.
- WebSockets: Allow WebSocket connections to the origin server.
- Pseudo IPv4: Adds an additional header to the request while using IPv6.
- IP Geolocation: Track the country code of incoming visitor.
- Maximum Upload Size: Amount of data that can come along a request.
- Response Buffering: Controls buffering of response.
10. Traffic
This doesn’t come along the FREE plan, However, you can control the load balancing of the traffic, analyse them and randomly perform the health check on your origin server whether the origin server is responding fine or not.
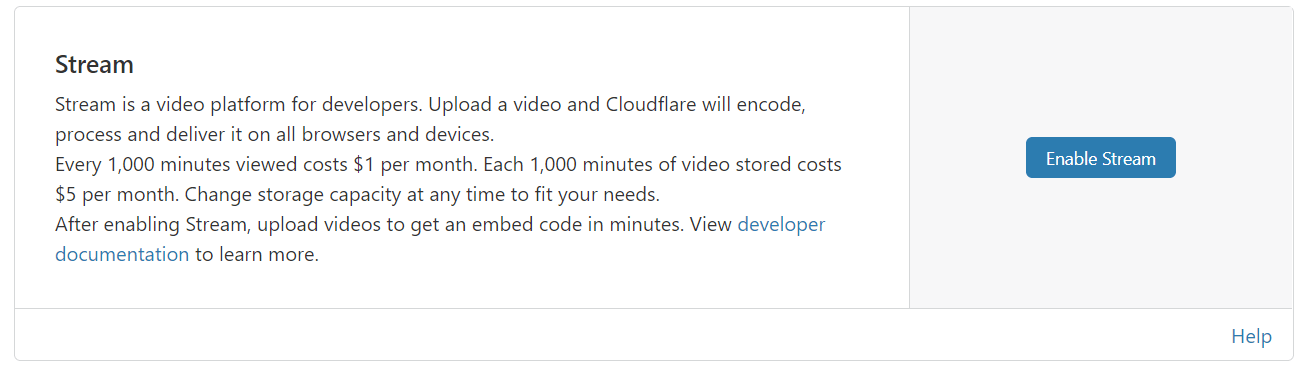
11. Stream
This can help if you’re using a video streaming website, Cloudflare will help you to encode your video content and deliver across all users and devices. This feature is paid and every 1000 minutes viewed can cost around $1 per month. Also, storing 1000 minutes of video can cost around $5 per month.
12. Custom Pages
Here, you can customize error pages to your visitors. If any visitor falls under the category of your page rules, for instance, blacklisted IPs then Cloudflare will show them custom design pages. Below is a brief description of custom pages.
- IP/ Country Block: Custom error page if visitor visit from a blocked IP address.
- WAF Block: Custom error page if a visitor falls under web application firewall rule.
- 500 Class Errors: Custom error page if 500 occur to a visitor.
Remember, all the above custom pages features are not available in the free plan.
Final Words
To improve website performance and security you can use Cloudflare over other CDN because Cloudflare is more trustworthy and secure.
There are very few steps and the biggest thing is that it is FREE. Below is the summary of Cloudflare and how to use Cloudflare with WordPress website:
- SignUp for Cloudflare
- Add the Website
- Select the Plan
- Change DNS records.
- Change Configurations.
As per my recommendation if you’re using some good hostings plans from Bluehost, Siteground etc then there is no need to setup Cloudflare.
Because hosting companies like Bluehost and Siteground offer their custom CDN installed on their server and they will serve the same purpose as the Cloudflare does.
That’s it, Enjoy your fast website